
Build the Installation Manifest
Plan a customer project in its installation manifest: floors and areas, devices from the Selora catalog, integrations, and the scenes, automations, and dashboard the home should have.
The installation manifest is the plan for one customer’s home: the floors and areas, the devices going into each area, the integrations those devices need, and what the home should do once everything is in. You build it during the System Design stage of the project, before anyone drives to the site.
Doing this work up front is what makes install day predictable. Missing hardware, devices that cannot talk to each other, and credentials nobody asked for show up in the manifest, where they are cheap to fix, instead of in the customer’s living room. The homeowner reviews the same plan, so everyone agrees on the scope before the work starts.
You can fill in the manifest by hand, as described on this page, or describe the home to the Selora Assistant and review what it proposes.
Open the manifest
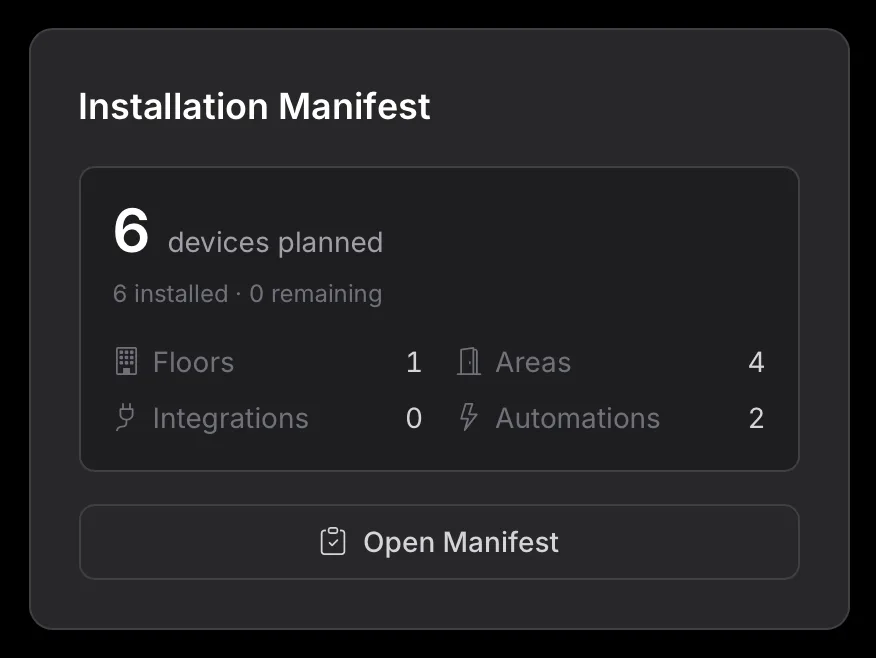
Open the customer’s project in Selora Connect . From the System Design stage onward, the project page shows an Installation Manifest card with the number of devices planned and the counts of floors, areas, integrations, and automations. Click Open Manifest.
Two phases
The manifest is split into two phases. Each shows how many of its steps are done.
- Physical install: what gets mounted and paired. Its tabs are Floors & Areas, Devices, and Integrations, and all three are required.
- Programming (optional): what the home does once the hardware is in. Its tabs are Scenes, Automations, and Dashboard.
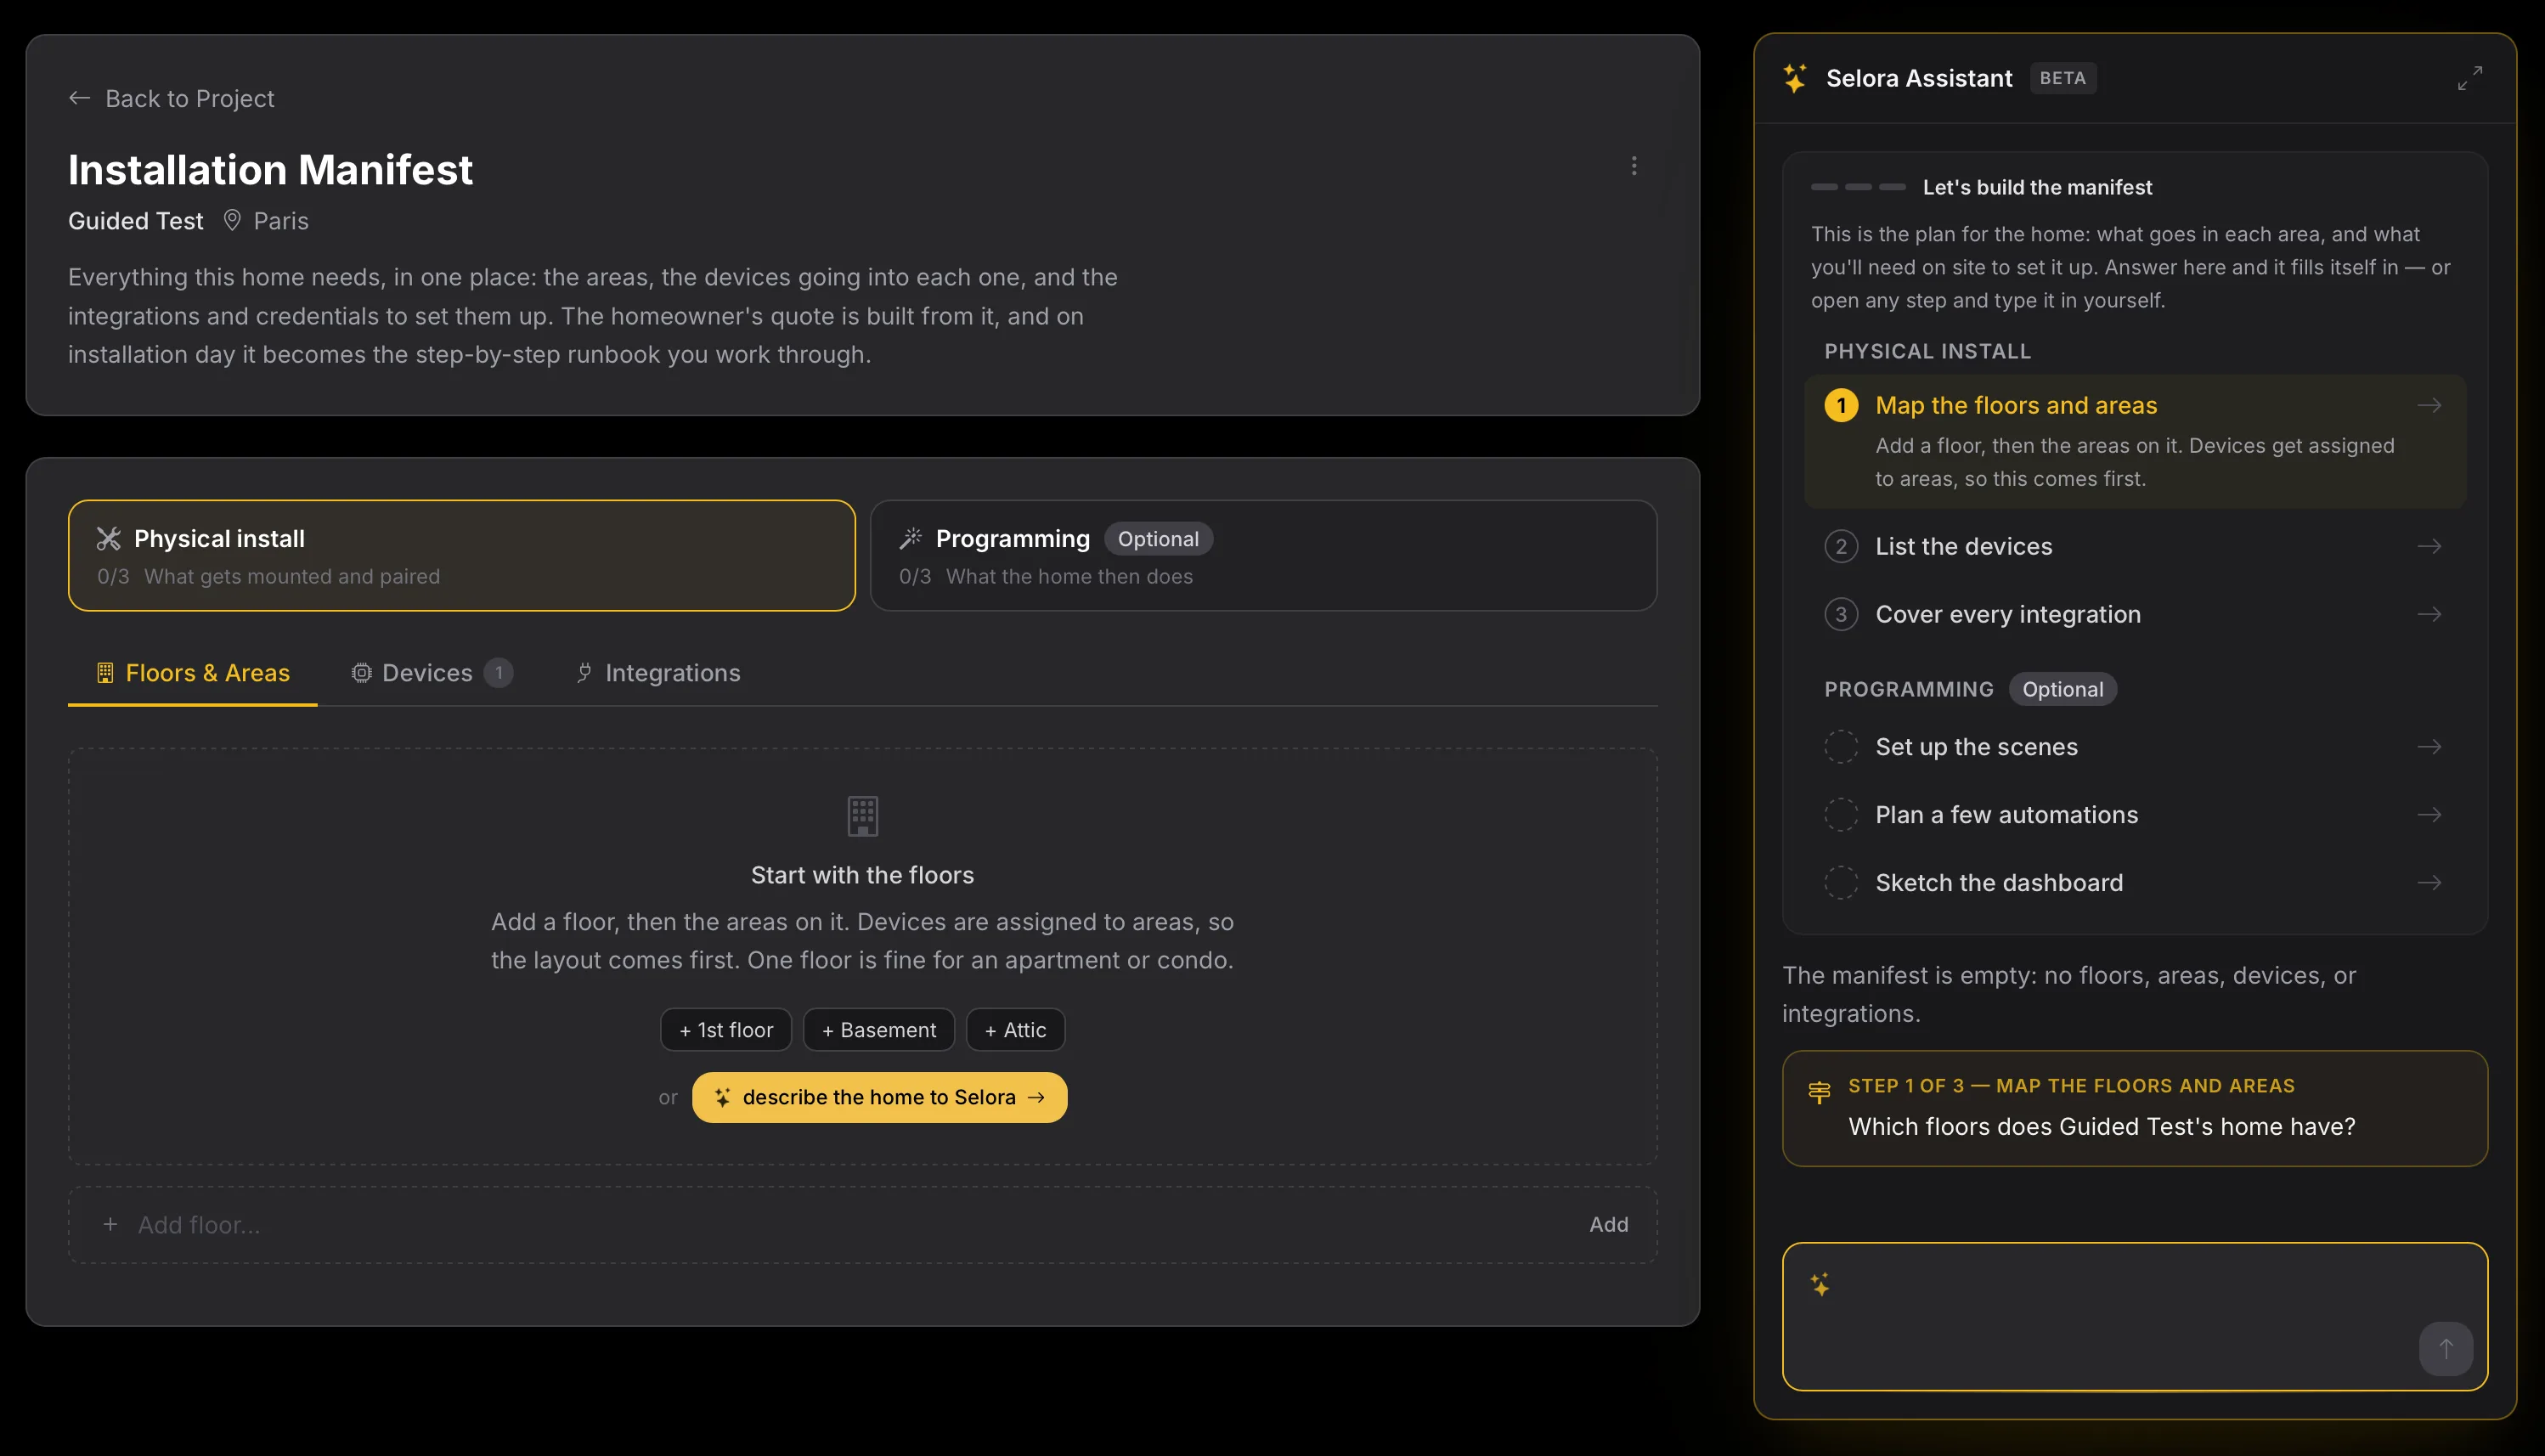
The checklist beside the manifest follows the same order: Map the floors and areas, List the devices, Cover every integration, then the three optional Programming steps. It also lists anything that needs attention, such as a device with no integration.
Physical install
Map the floors and areas
Devices are assigned to areas, so the layout comes first.
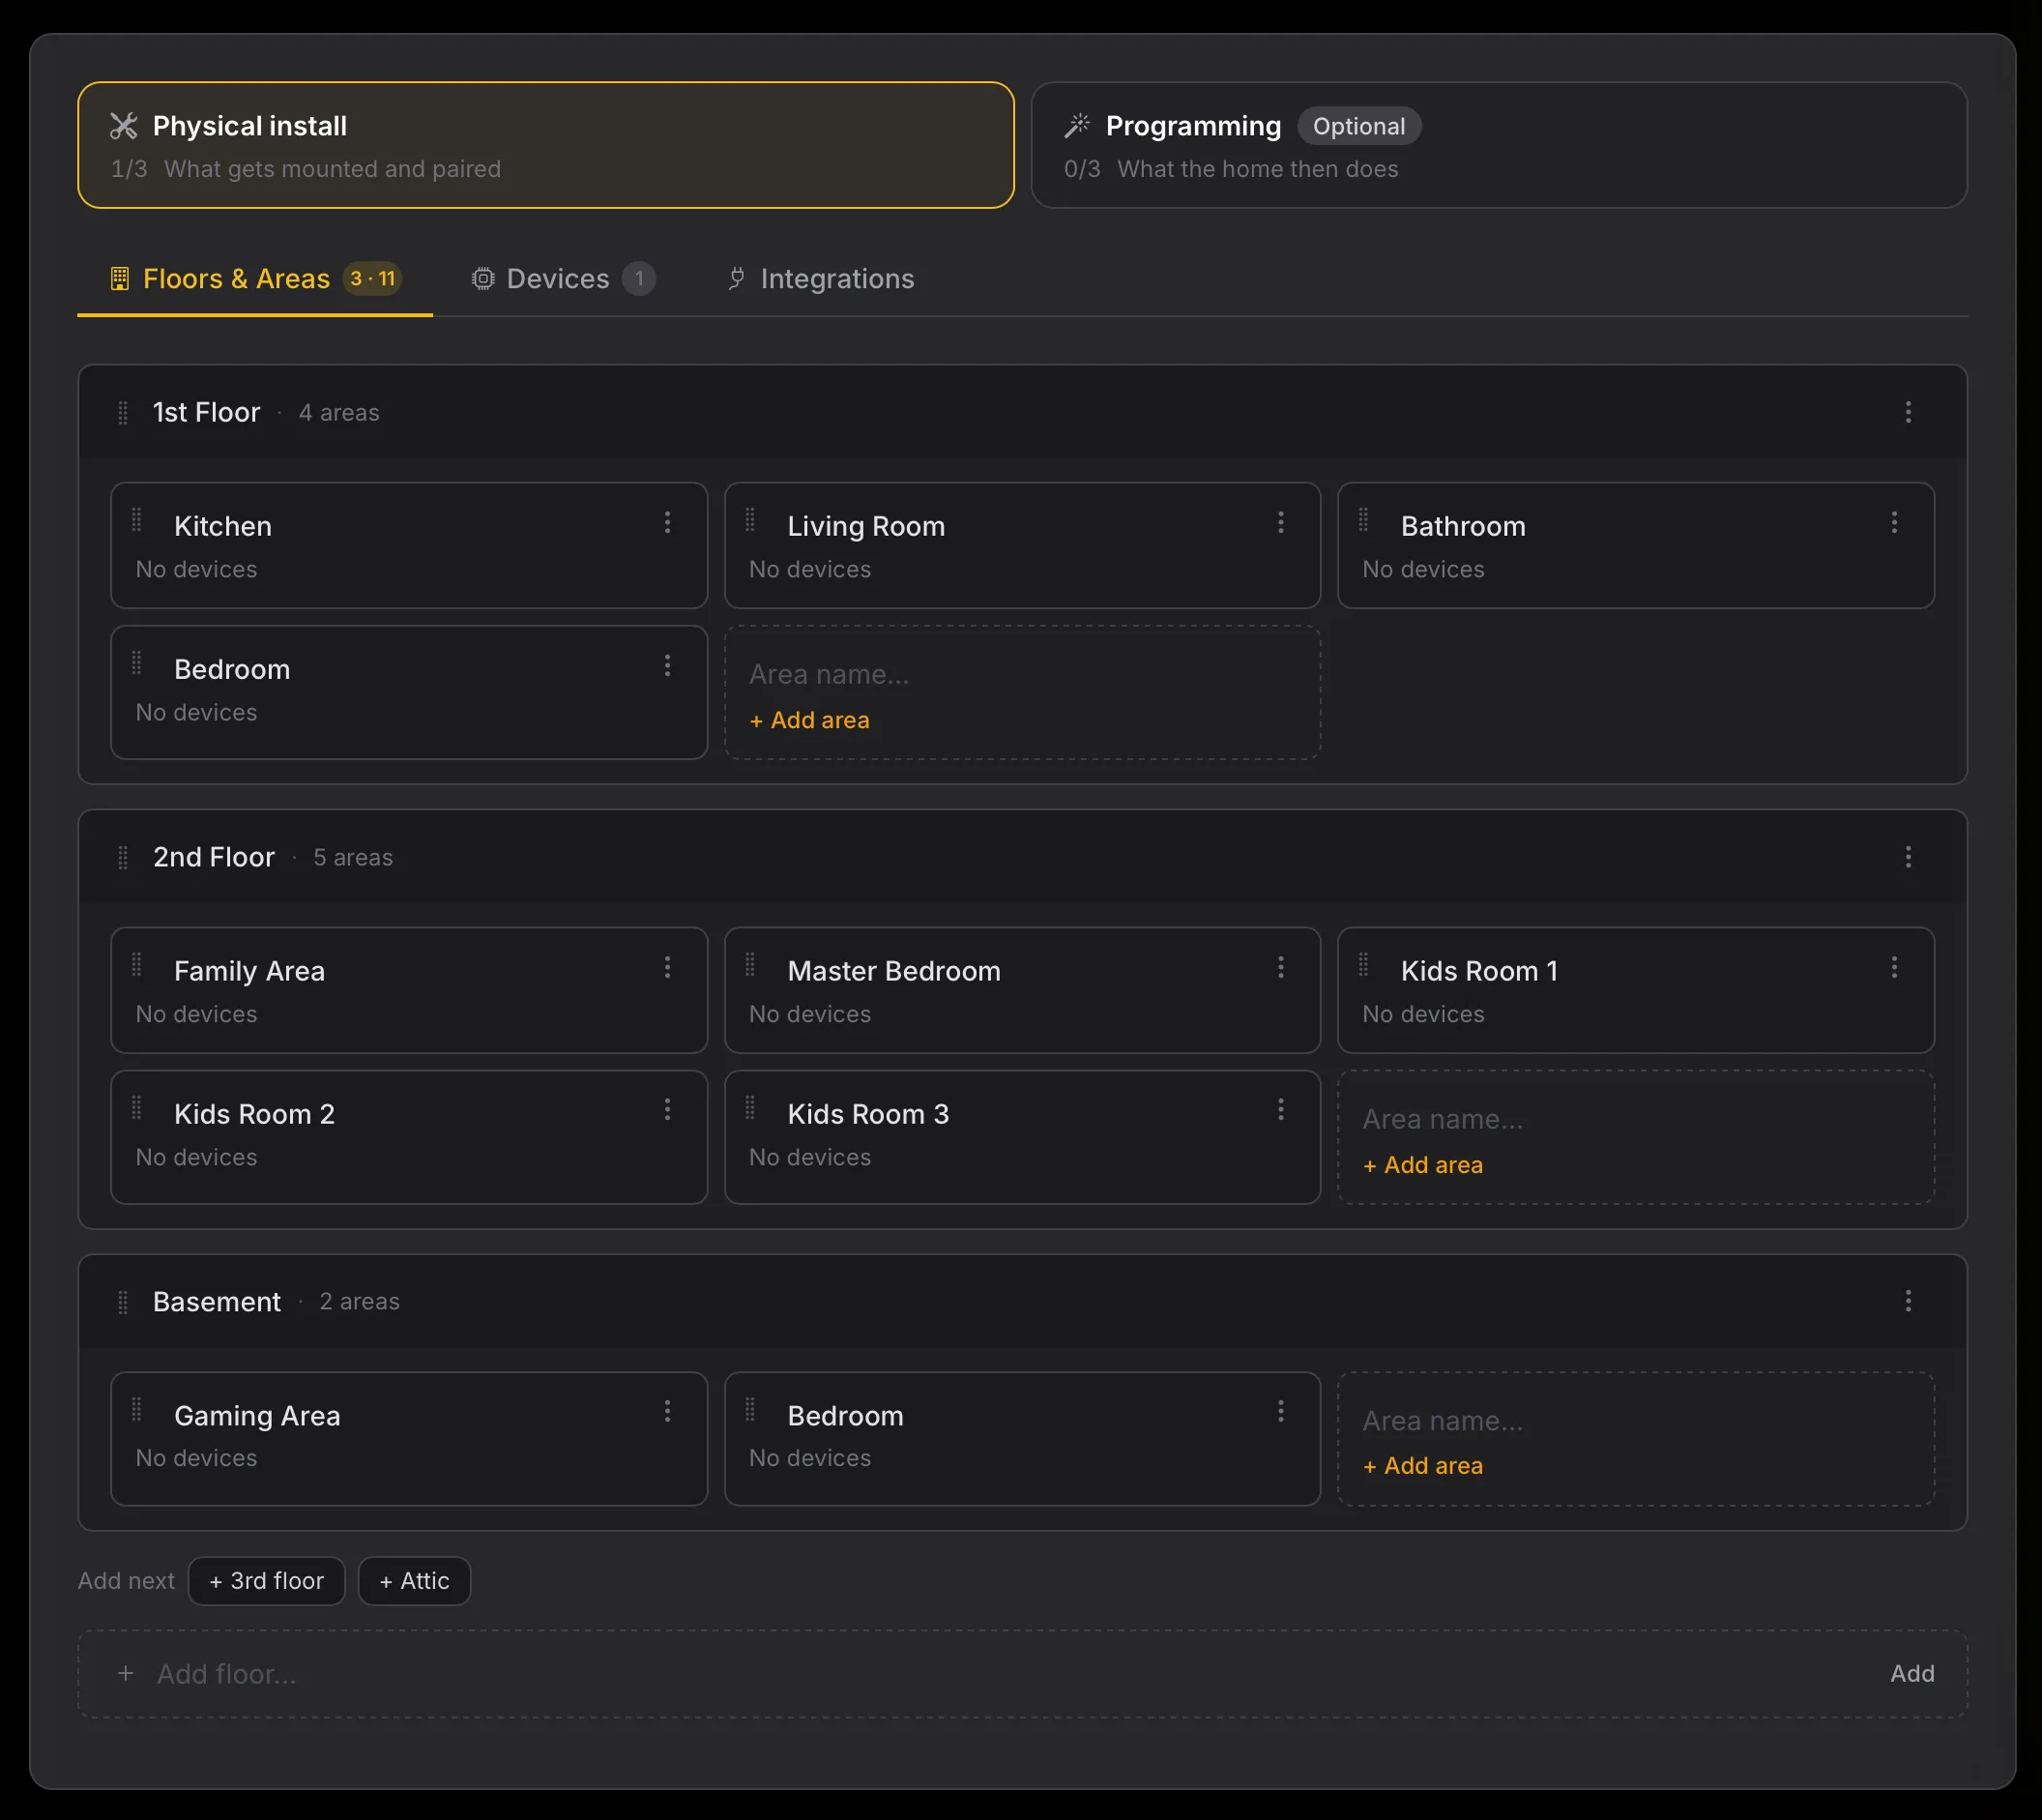
- On Floors & Areas, add each floor. The quick-add buttons offer the next floor up, Basement, and Attic, or type any name in Add floor. One floor is fine for an apartment or condo.
- Under each floor, type an area name and click Add area: kitchen, living room, master bedroom, and so on.
- Drag floors and areas to reorder them, or use their menu to rename or delete them.
List the devices
On Devices, click Add device.
- Search the catalog. Picking a device from the Selora device catalog fills in the manufacturer, model, protocol, and Home Assistant integration for you.
- If the device is not in the catalog, type its details by hand: name, manufacturer, model, category, protocol, and integration.
- Tick the areas it goes in, and set How many? for each one. The device’s quantity is the sum of the areas.
Every project already has a Selora Hub row. Open it and choose Where it goes once you know where the hub will live.
The Devices tab also checks that the plan can work. When devices need hardware nobody has listed, such as a Zigbee or Thread radio coordinator, a Thread border router, or a manufacturer’s bridge, the tab says so on the affected devices and offers to add it. That hardware appears at the top, under Required hardware. A device that plugs into the Selora Hub, like a USB coordinator, has no area of its own: it goes wherever the hub goes. The tab also flags hardware we do not recommend and links to what to use instead.
Cover every integration
A device picked from the catalog adds its integration to Integrations automatically, with its requirements already listed. Add the rest by hand, and for each one list what the setup needs: a password, an API key, a pairing code, an IP address. Set who provides each item: Installer, Homeowner, or Selora.
The manifest lists what is needed. It never stores the credentials themselves. Hand sensitive items over in person on install day.
Programming
These steps are optional, but they are where the homeowner’s expectations get written down.
- Scenes: a name, the area (or the whole home), and what the scene sets, such as “dim the living room lights to 30% and close the shades”.
- Automations: a name, a trigger (time, a device state, an event, or manual), and the action. For example, “turn off every light at 11 PM”.
- Dashboard: each screen the homeowner will use. Give it a title, the screen it is for (phone, wall tablet, TV or computer), and in plain words what they should see and do there, such as “the kitchen lights, the oven and the front door camera, big enough to tap with wet hands”. You describe it; you do not lay out the cards.
What the homeowner sees
From the System Design stage, the homeowner’s project page has a Your System Design card. It opens a read-only view of the plan, room by room: the services you will connect, the one-tap scenes, what the home does on its own, and the dashboards being set up for their screens. Items you marked Provided by: Homeowner are listed under What we’ll need from you, so they can gather passwords and accounts before you arrive. The homeowner can save the plan as a PDF.
On installation day
When you claim a Selora Hub and link it to the project, the manifest becomes the plan for the install. A guided installation turns it into a step-by-step runbook: it knows which devices go where, detects each one as it comes online, and marks it installed. Once the devices are in, Selora AI creates the scenes and automations from the Programming phase in Home Assistant. Selora then lays out each dashboard you described from the devices that actually paired, as a new dashboard of its own; the homeowner’s existing dashboards are left as they are. If the hub’s Selora AI is too old to create dashboards, the step stays open for you to build by hand.
Last modified October 18, 2026: docs(installer): send questions to the homeowner from a project (9b3cb2e)