Request Remote Access
How installers and the Selora Homes support team can request temporary remote access to customer Home Assistant installations for support and maintenance.
Search results
Remote access provides a secure, on-demand way for professional installers and the Selora Homes support team to access customer Home Assistant installations remotely. Unlike permanent homeowner remote access, this access is temporary, request-based, and fully controlled by the homeowner.
How It Works
Remote access follows a request-and-approve workflow:
- Installer or support team member requests access through the Selora Connect portal.
- Homeowner receives notification and reviews the request.
- Homeowner approves or denies the access request.
- Temporary access granted with a unique URL and password.
- Session expires automatically when the approved duration ends.
Requesting Access
As an installer or support team member, you can request remote access to any customer installation you manage:
- Log in to your account
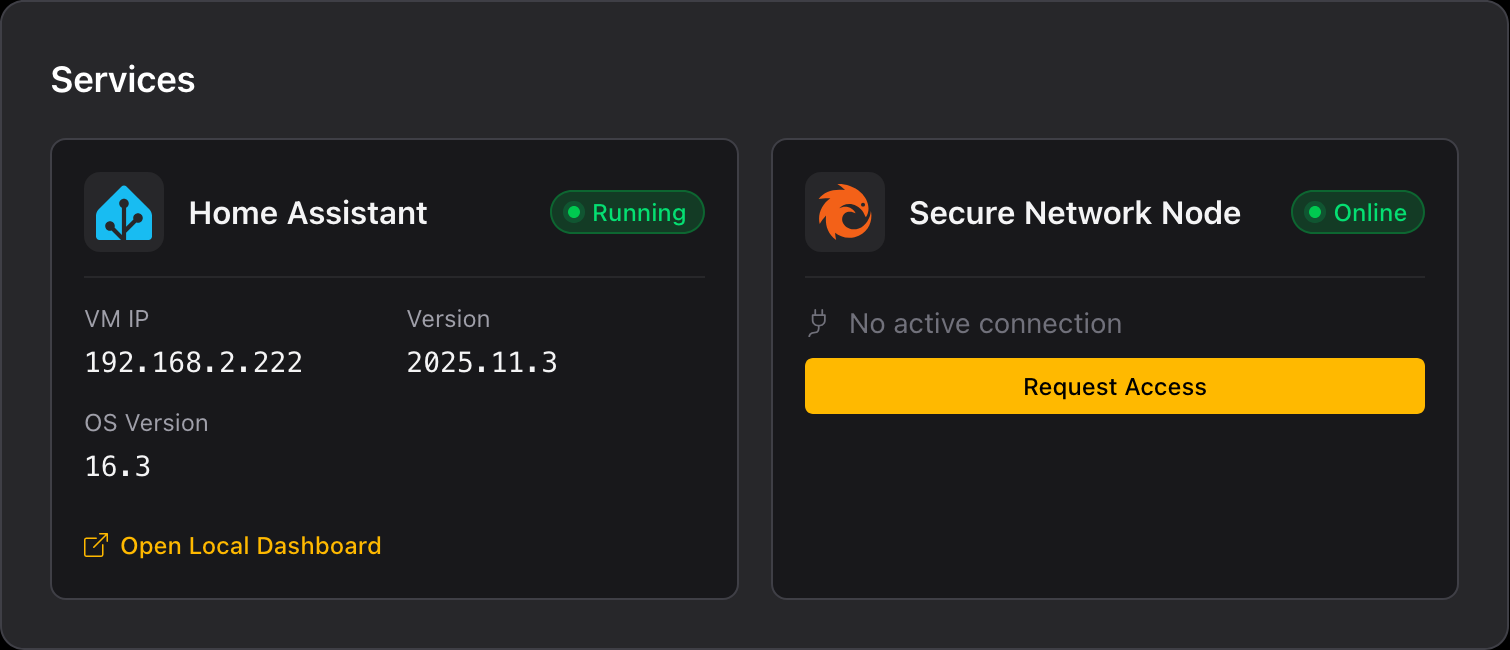
- Navigate to the customer’s installation.
- Click Request Access in the Secure Network Node section.
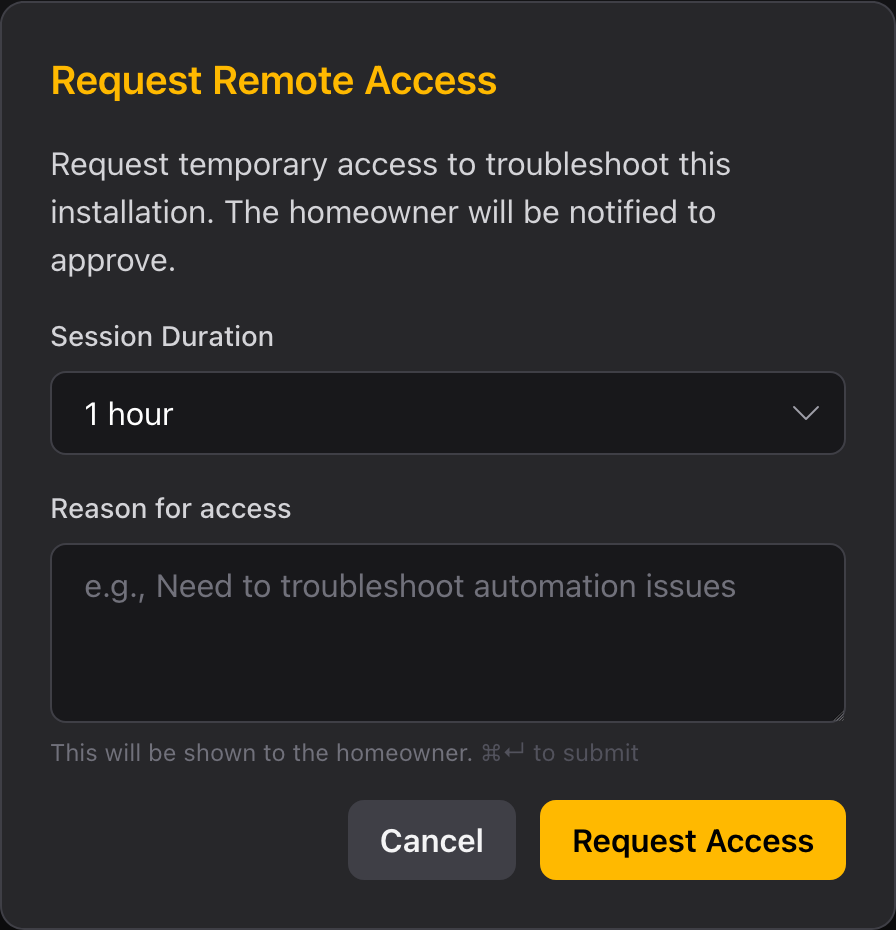
- Specify the session duration from the dropdown.
- Enter the reason for access explaining why you need to connect.
- Click Request Access to submit.
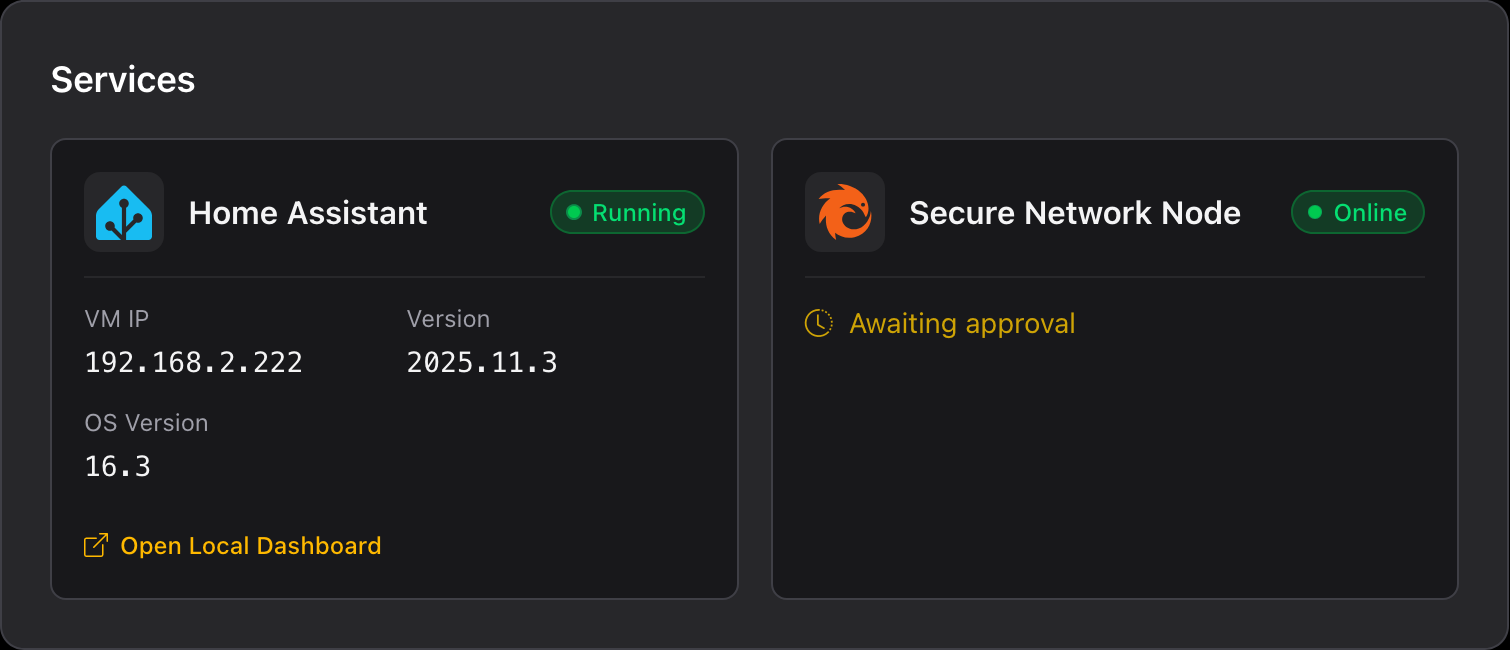
After submitting, the status changes to “Awaiting approval” while waiting for the homeowner to respond.
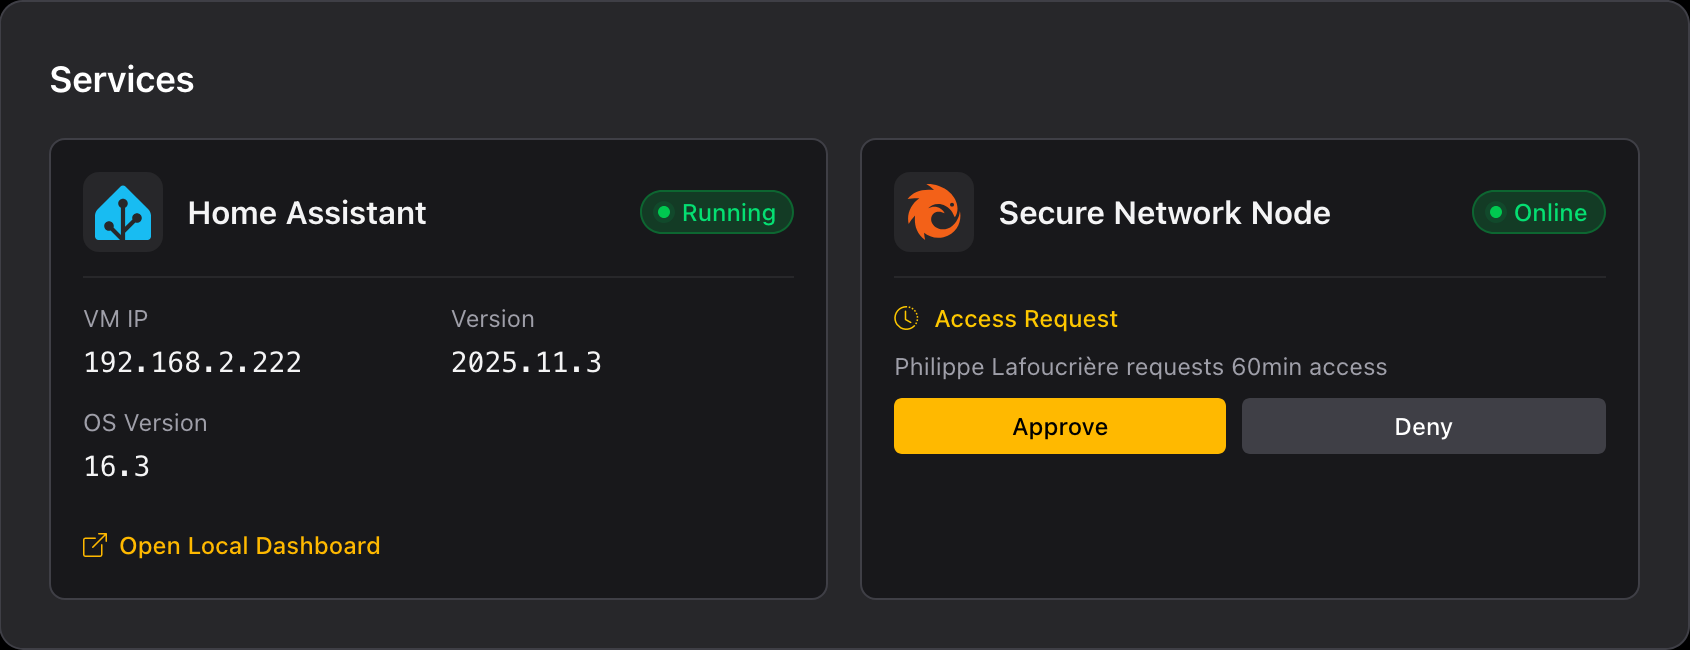
Homeowner Approval
When you request access, the homeowner receives an email notification with the details of your request.
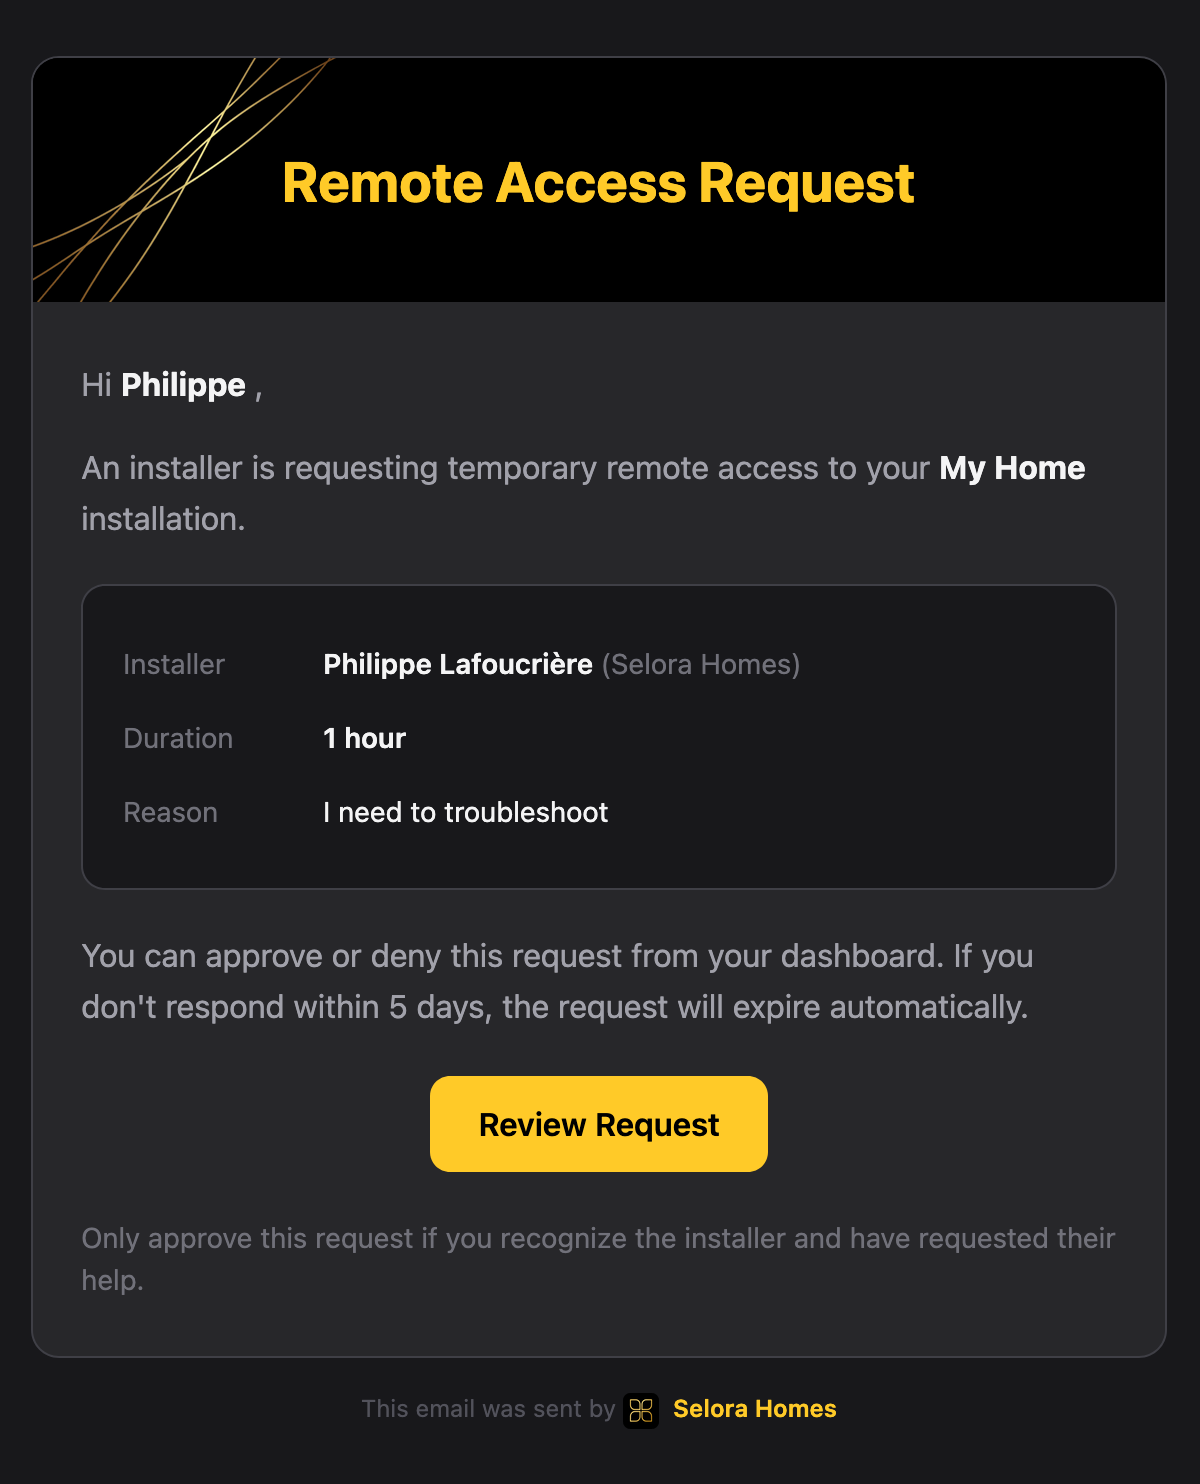
The homeowner can also approve or deny the request directly from their Selora Connect dashboard.
Starting Your Session
Once the homeowner approves your request, the status changes to “Approved” and you can start your session.
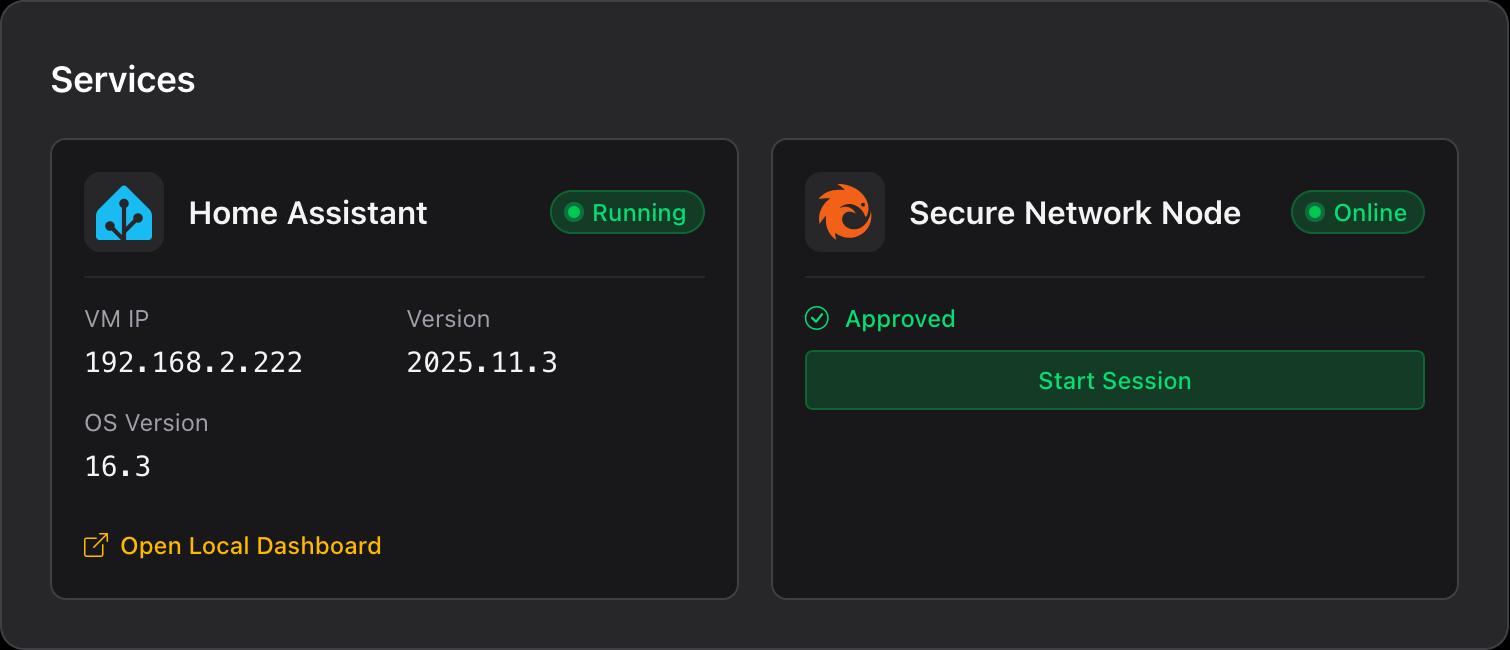
Click Start Session to activate your remote access. A temporary user account is created for you, valid for the duration of the requested access.
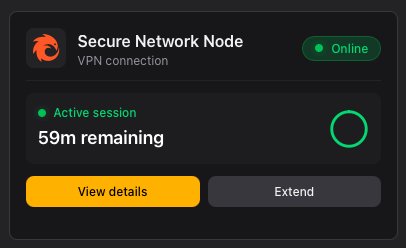
Click View Details to see the connection credentials.
Connecting to Home Assistant
A double authentication is required to access the installation:
Step 1: Authenticate the Remote Connection
Open the URL shown in the connection details and enter the password. This first authentication secures the access to the installation and avoids exposing Home Assistant to the internet.
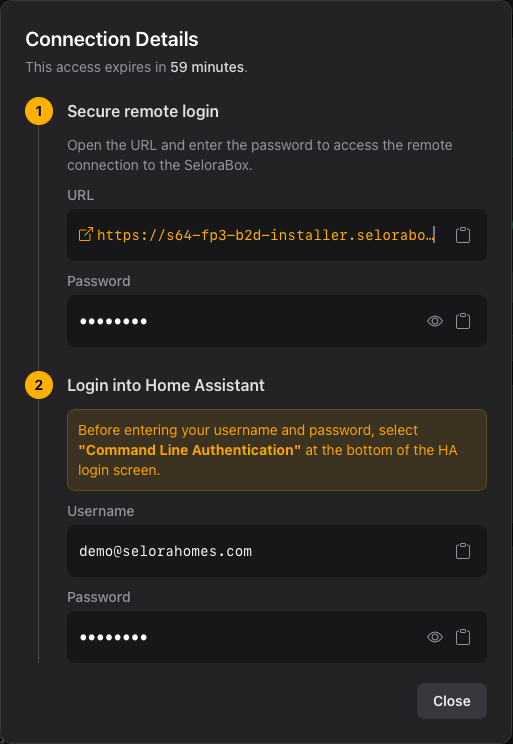
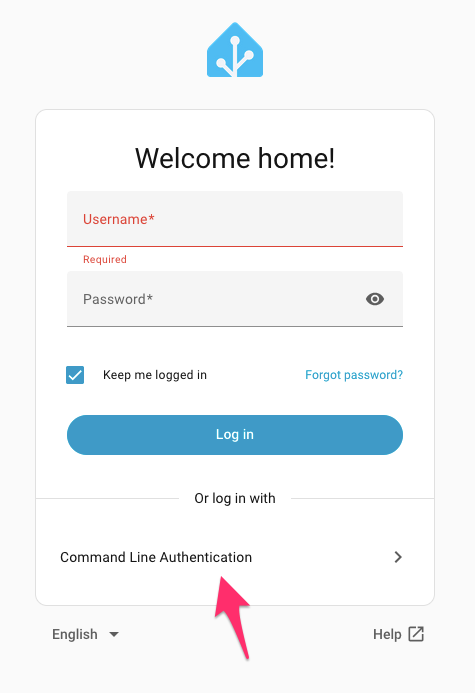
Step 2: Log in to Home Assistant
Once connected, you reach the Home Assistant login screen. The credentials for Home Assistant are different from your Selora Connect account — use the username and password shown in the connection details.
Session Duration
Session duration is specified when making the request. Available options:
| Duration | Typical Use Case |
|---|---|
| 30 minutes | Quick diagnostics or configuration checks |
| 1 hour | Standard troubleshooting or minor updates |
| 2 hours | Integration setup or moderate configuration work |
| 4 hours | Major updates or complex troubleshooting |
| 8 hours | Extensive system work or migrations |
Extending a Session
If you need more time than originally requested, click Request Extension while your session is active.
- Click Request Extension in the active session panel.
- Specify the additional time needed.
- Provide a reason for the extension.
- The homeowner receives a notification to approve the extension.
Security Features
Remote access is built with security as a priority:
- No Permanent Access: Every session requires explicit homeowner approval.
- Time-Limited Sessions: Access automatically expires at the scheduled end time.
- Temporary User Account: A dedicated account is created for each session and expires with it.
- Double Authentication: Separate credentials for the remote connection and for Home Assistant.
- Instant Revocation: Homeowners can end sessions immediately.
- Complete Audit Trail: All access is logged for transparency.
- Encrypted Connection: All traffic is encrypted end-to-end.
Best Practices
- Request only what you need: Choose the shortest duration that allows you to complete your work.
- Be specific in your reason: Clear explanations build trust with homeowners.
- Notify before requesting: A quick call or message to your customer improves the experience.
- Request extensions early: Don’t wait until the last minute if you need more time.
- Document your work: Keep notes on what you did during the session for future reference.
Troubleshooting
Request Not Received by Homeowner
- Verify the customer’s contact information in Selora Connect.
- Ask the customer to check their spam/junk folder.
- Ensure the customer has notifications enabled in the Selora Connect app.
Session Expired Unexpectedly
- Check if the homeowner revoked access.
- Verify the original session duration in your request.
- Submit a new access request if needed.
Connection Issues During Session
- Verify the customer’s internet connection is stable.
- Try refreshing the temporary URL.
- Contact Selora support if issues persist.
Related Documentation
Last modified April 5, 2026: Restructure installer remote access docs and update related pages (a971b41)