
Backups
How automatic backups work in Selora Hub, including retention policies and restore options.
Selora Hub includes fully automated backup management, ensuring your customers’ Home Assistant configurations are protected without any manual intervention.
How Backups Work
Backups in Selora Hub are configured at the management host level, not within Home Assistant itself. The management host triggers Home Assistant backup operations, which provides two key benefits:
- Cloud backups cannot be disabled by end users
- Encryption keys are securely managed by the system, eliminating the risk of lost keys
Backup Schedule
Daily backups are created automatically at 3:00 AM local time. This timing minimizes impact on system performance during normal usage hours.
Retention Policy
Selora Hub maintains multiple copies of backups across different locations for comprehensive data protection:
| Location | What | Retention |
|---|---|---|
| Home Assistant VM | Native HA backups (/mnt/data/supervisor/backup/) | Last 3 daily |
| Cloud (S3) | Encrypted uploads (daily, Mon-Sat) | 30 days |
| Cloud (S3) | Encrypted uploads (weekly, Sunday) | Immutable vault (6 months) |
This multi-tiered approach ensures:
- Quick local restores from recent backups stored on the device
- Protection against hardware failure through cloud backups
- Long-term recovery options via the immutable weekly vault
Downloading Backups
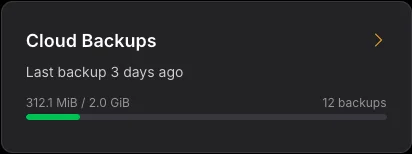
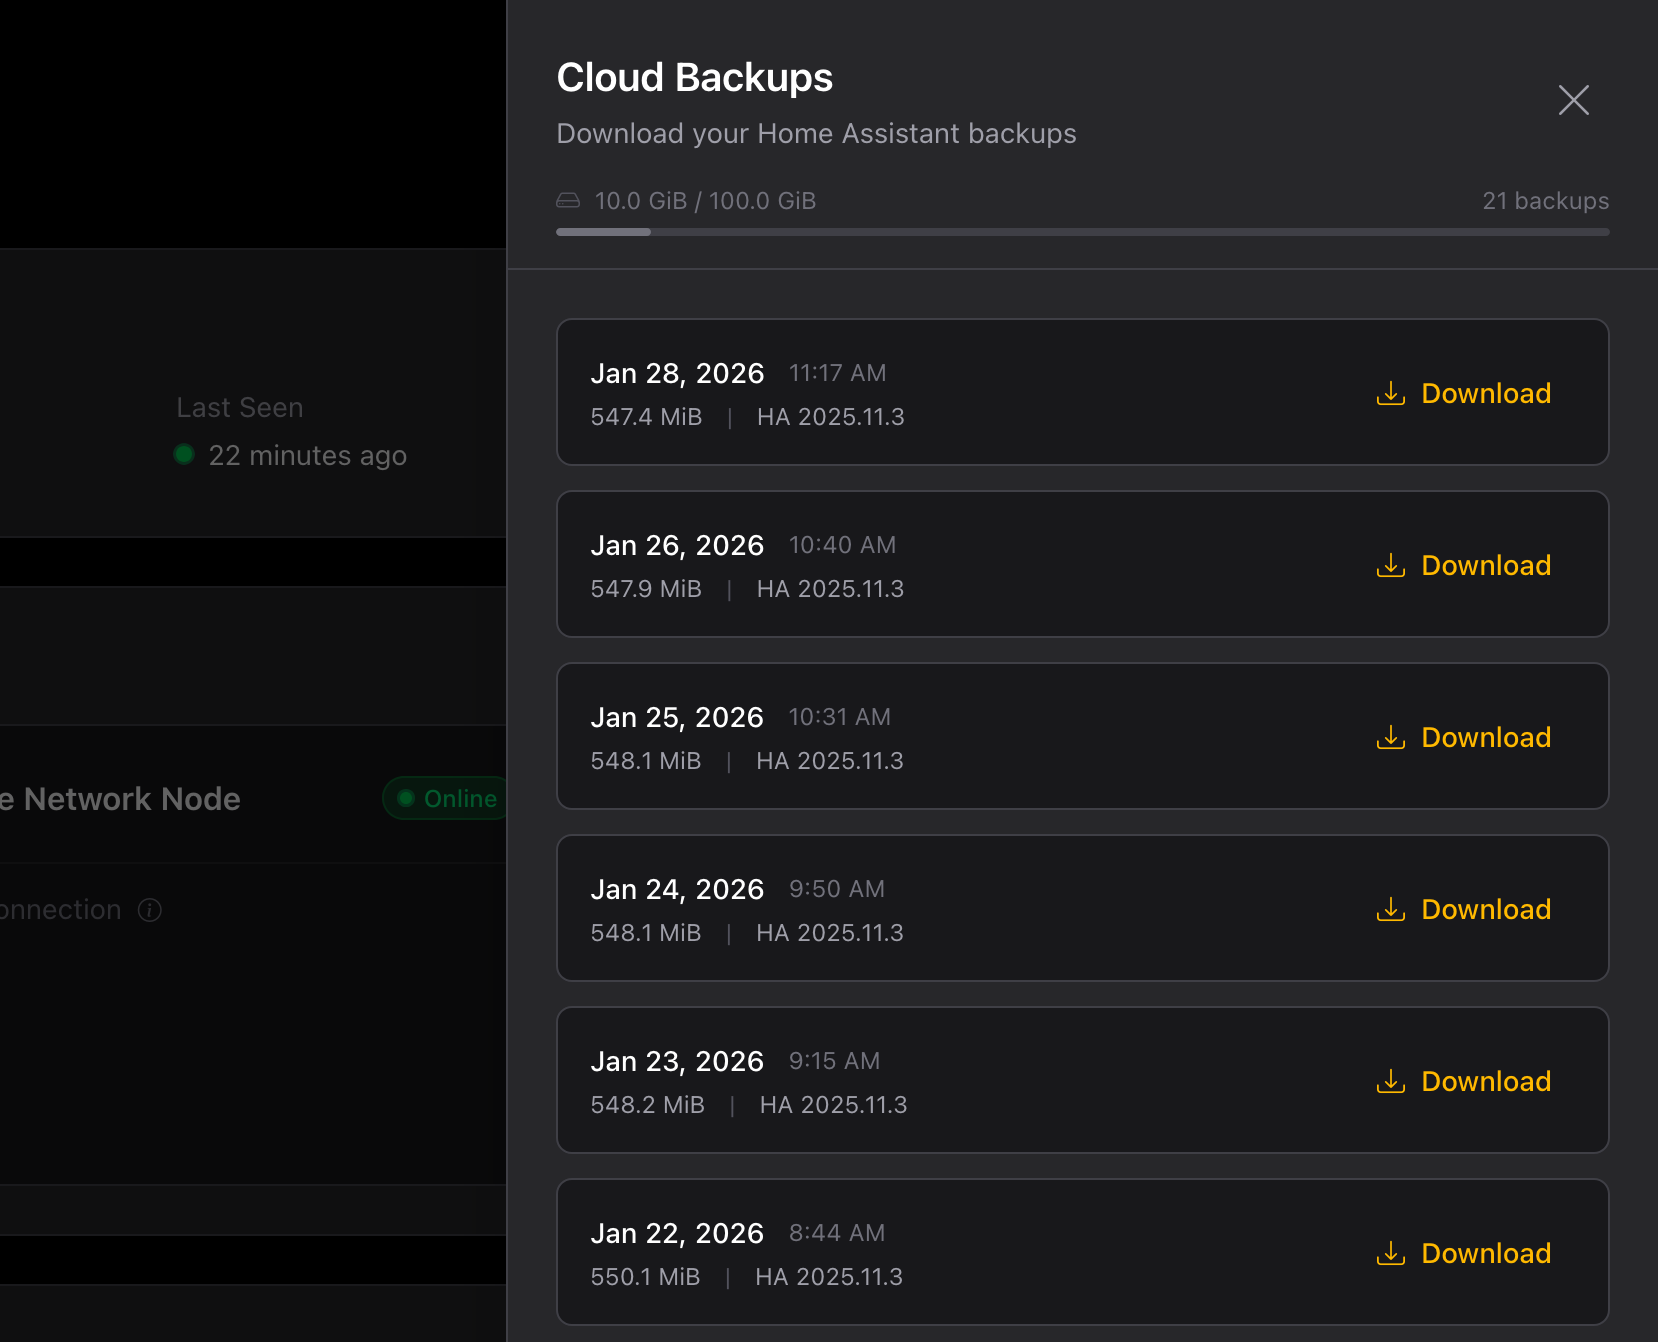
Your recent cloud backups are on your hub’s Cloud Backups tab in Selora Connect , where you can download any of them at any time. The Overview shows when the last one was made:
Excluding Folders and Add-ons
Some Home Assistant deployments accumulate large volumes of data that are not essential to a recovery: years of sensor history, camera recordings, or storage-heavy add-ons. To keep cloud backups lean, you can exclude specific folders or add-ons on your hub’s Cloud Backups tab, under Advanced settings.
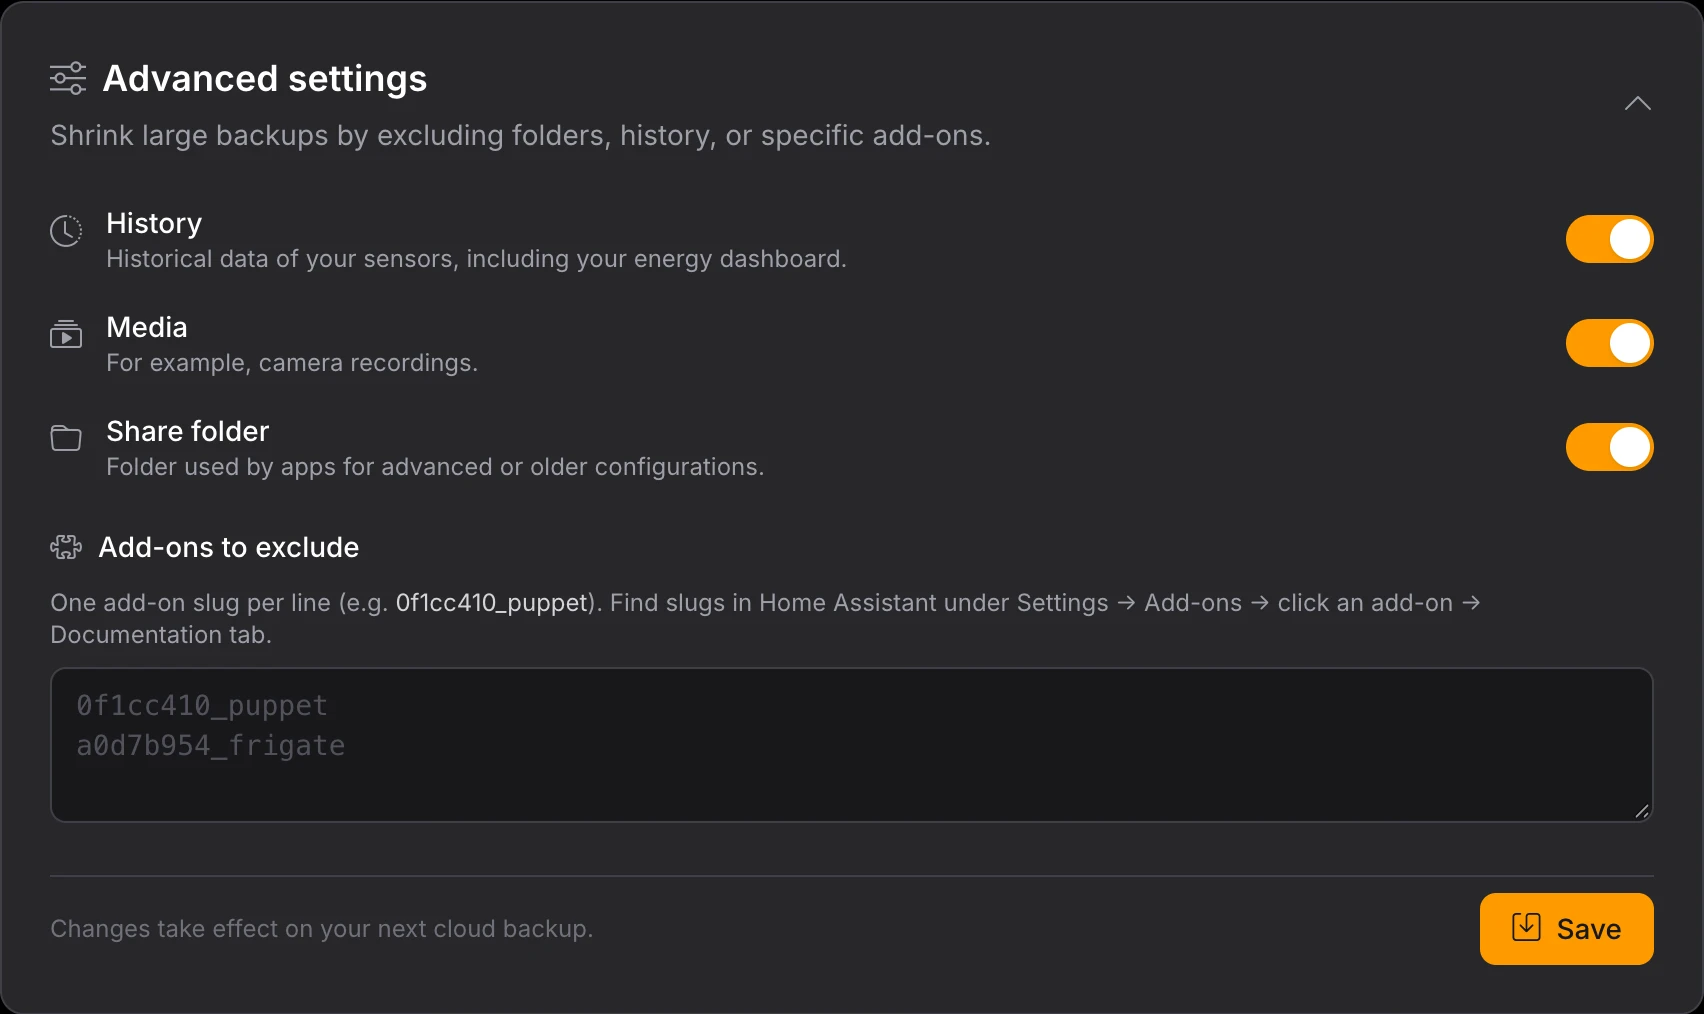
The following content can be excluded:
| Option | What it excludes |
|---|---|
| History | Historical sensor data, including the energy dashboard |
| Media | The /media folder, e.g. camera recordings |
| Share folder | The /share folder used by add-ons for advanced configurations |
| Add-ons | Specific add-ons, identified by their slug (one per line) |
To find an add-on slug, open Home Assistant and go to Settings → Add-ons, click the add-on,
then open the Documentation tab. The slug appears in the configuration examples
(e.g. 0f1cc410_puppet).
Changes take effect on the next scheduled cloud backup.
Restoring Backups
To restore a backup, download it from the installation page under Cloud backups. Select the backup you want to restore from the list and download it.
The downloaded file is a .tar archive in the standard Home Assistant backup format. You can restore it in two ways:
Restoring to an Existing Home Assistant
- Go to Settings → System → Backups
- Click Show all backups
- Click the three dots in the upper right corner
- Select Upload backup
- Select the downloaded
.tarfile
Restoring During Fresh Install
If you’re setting up a new Home Assistant instance, you can restore the backup during the onboarding process. See the official Home Assistant documentation:
Additional Backup Options
While Selora Hub provides comprehensive automated backups, installers can configure additional backup solutions if needed or requested by homeowners.
For information on configuring additional backups within Home Assistant, refer to the official documentation:
Last modified October 17, 2026: docs(connect): new remote access and backups screenshots (ea7eb6e)