Getting Started
Get started with your Selora Hub smart hub. Register your device, claim your installation, and begin configuring Home Assistant.
Getting Started with Selora Hub
Your Selora Hub smart hub is shipped pre-installed with Home Assistant. Once you receive your device, connect it to power and to your network via Ethernet to begin the registration process. If you want to install Selora Hub yourself on your own hardware or in a VM, see the Installation Guide .
Claim Your Device
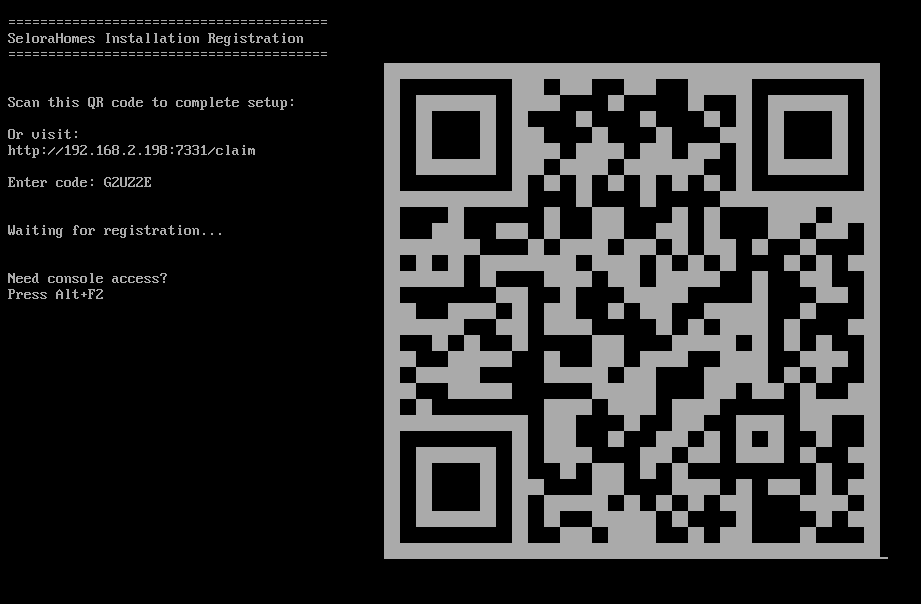
After the first boot completes, the Selora Hub enters registration mode and displays a QR code on the screen. If no screen is connected, see Option 3 below for a headless alternative.
You have three options to claim your device:
Option 1: Scan the QR Code
- Use your mobile device to scan the QR code displayed on screen
- This will automatically open the claim page with your device code
Option 2: Manual Entry
- Note the code displayed below the QR code on screen
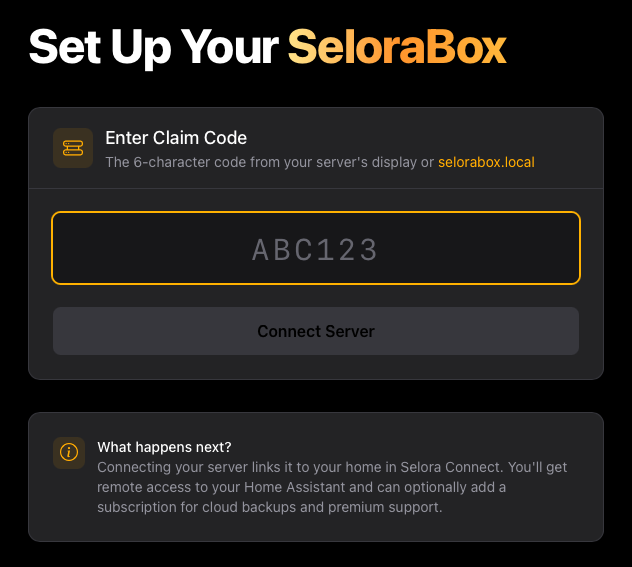
- Navigate to https://connect.selorahomes.com/claim
- Enter the code manually
Option 3: No Screen Connected
If you cannot connect a screen to the smart hub, you can retrieve the claim code from a browser:
- From a device on the same network, navigate to http://selora.local
- The claim code will be displayed on the page
- Navigate to https://connect.selorahomes.com/claim and enter the code
After Registration
Once registration is complete, the device transitions to registered mode and displays the management screen. This information is also available at http://selora.local from any device on the same network.
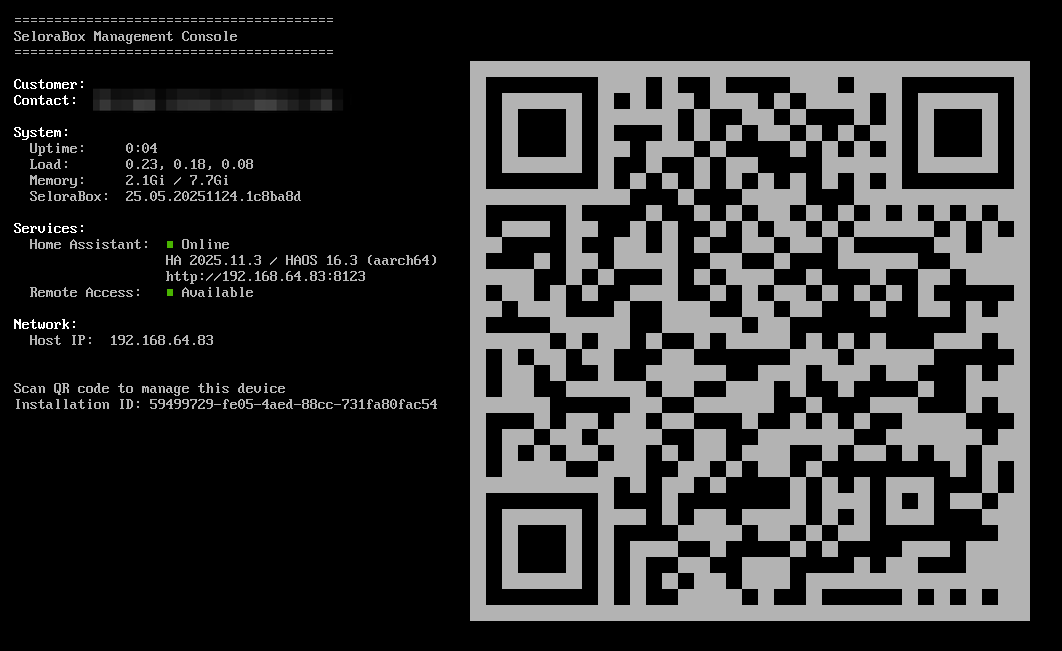
The management screen shows:
- Device status: Current state of the Selora Hub
- Home Assistant status: Whether Home Assistant is running
- Secure remote access: Configuration status for remote connectivity
- IP address: The device’s network address for local access
- Software versions: Technical information about installed components
This enables:
- Heartbeat monitoring: Device sends status updates to Selora Homes
- Secure network connection: Connected to our managed infrastructure
- Remote access (coming soon): Request temporary remote access that customers can approve
- Automatic updates: Receive configuration updates and security patches
Configure Home Assistant
Once the device is registered, navigate to http://homeassistant.local from any device on the same network and complete the Home Assistant onboarding wizard:
- Create your admin account — use a strong, unique password
- Set up your location and timezone
- Configure initial integrations
Last modified July 20, 2026: Group the docs menus (Selora AI, Selora Hub) and add a status-filtered Roadmap menu (61db992)