Installation Guide
Installation guide for SeloraBox. For testing the product on your own hardware or reinstalling a failed device.
Search results
SeloraBox Installation Guide
This guide walks you through the complete installation process from hardware preparation to initial setup.
Prerequisites
Hardware Requirements
Recommended Device: Bee-Link EQ14
- Processor: Intel® Twin Lake N150
- RAM: 16GB
- Storage: 500GB hard drive
- Network: 1 Gigabit Ethernet port (minimum)
- Boot Media: USB flash drive (8GB or larger)
Network Requirements
- Ethernet connection with internet access (DHCP enabled, or a fixed IP configured — see IP Configuration )
- Internet access for initial configuration and updates
- Stable network during installation (approximately 5-10 minutes)
For detailed firewall rules and required endpoints, see the Network Requirements page.
Installation Tools
- USB flash drive (8GB or larger, will be erased during flashing)
- Balena Etcher or equivalent ISO flashing tool
- Computer for downloading ISO and flashing USB drive
Installation Overview
SeloraBox uses an automated installation process that sets up:
- Base System: Atomic, reliable operating system with rollback capability
- Home Assistant: Pre-configured Home Assistant installation
The entire process is hands-off after booting from the USB drive.
Step 1: Download the ISO Image
- Navigate to https://downloads.selorahomes.com/
- Download the latest SeloraBox ISO image (if unsure, use the Intel & AMD processors ISO image)
- Verify the file size and checksum if provided
Step 2: Flash the USB Drive
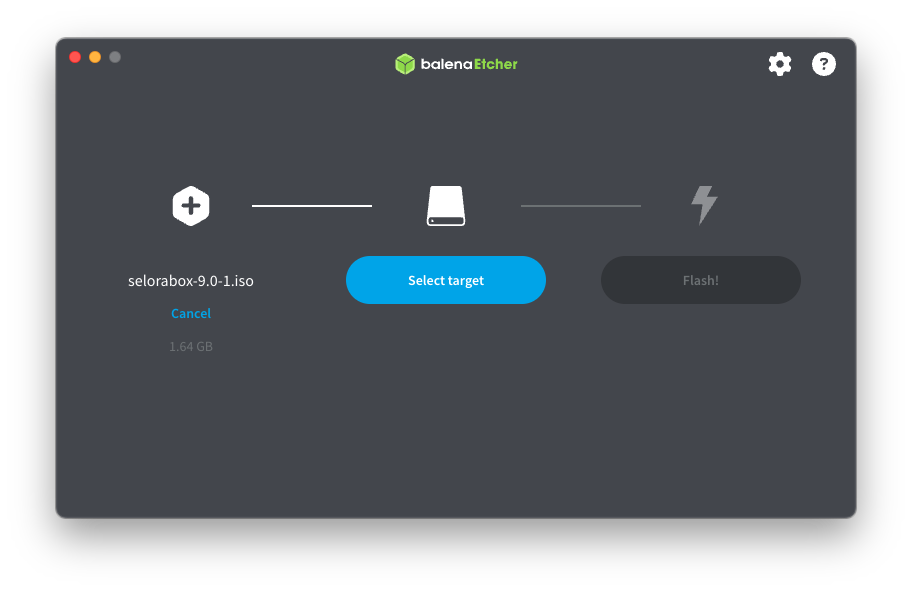
Using Balena Etcher (Recommended)
- Download and install Balena Etcher
- Insert your USB flash drive
- Launch Balena Etcher
- Flash from file: Select the downloaded SeloraBox ISO
- Select target: Choose your USB drive
- Click Flash and wait for completion
Verification
- Etcher will automatically verify the flash process
- Safely eject the USB drive when complete
- The USB drive is now ready for installation
Step 3: Prepare the Target Device
BIOS Configuration
- Power off the target device completely
- Insert the flashed USB drive
- Power on and enter BIOS/UEFI settings (typically F2, F10, F12, or DEL key)
- Disable Secure Boot: Navigate to Security settings and disable Secure Boot
- Navigate to Boot Options or Boot Order
- Set USB as the first boot device
- Save changes and exit BIOS
Boot Sequence
- The device will now boot from the USB drive
- You should see the SeloraBox installer splash screen
- Do not interrupt the installation process
Step 4: Automatic Installation
Once the device boots from the USB drive, the installation runs automatically. You don’t need to do anything - just wait for it to complete.

The installer will set up the base system, install Home Assistant, and prepare the device for registration. When complete, the device will display a registration screen with a QR code (see Step 5 below).
Step 5: Device Registration and Setup
Once installation is complete, follow the Getting Started guide to register your device and configure Home Assistant.
Troubleshooting
Installation Won’t Start
- Disable Secure Boot: Secure Boot must be disabled (see Step 3)
- Verify BIOS boot order: Ensure USB is first
- Re-flash USB drive: Try a different USB port or drive
- Try USB 2.0 keys: If your USB drive doesn’t work, try a USB 2.0 key instead
No Network Connection
- Check Cables: Ensure the Ethernet cable is fully inserted; otherwise, network init will block without warning
- Check DHCP: Ensure your network router has DHCP enabled
- Try different Ethernet port: If device has multiple ports
- Cable test: Verify Ethernet cable is working
Support
For installation issues or questions:
- Check this documentation and the troubleshooting section above
- Review Home Assistant official docs
- Contact Selora Homes support at connect.selorahomes.com/support
Last modified March 9, 2026: Add IP configuration documentation (3eaea1a)